Whenever we discuss big-marlin gear, we are talking about 130-pound-class tackle. The importance of attention to detail exists in all tackle setups, especially when tournament fishing, but when you are faced with the fish of a lifetime—the one that appears in all your dreams—confidence in your tackle becomes your first concern.
Before you even begin to set up your tackle for the season, you need to be sure you are prepared to use the best products available. Clients travel immense distances to have an opportunity to land their grander, and in order to provide that to them, they must stay connected. Although no tackle is completely bulletproof, you need to be sure all the T’s have been crossed, the I’s are dotted, and that everything humanly possible is considered when it comes to your connection.
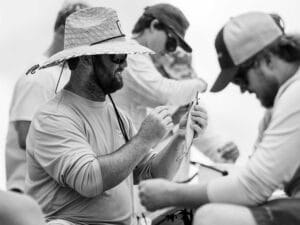
Watch: Learn to rig a swimming mackerel here.
Line, Knots and Hangers
At the beginning of the season, I fill my reels with 130-pound-test Marlin Braid Orange Spot Dacron for backing. This high-quality Dacron is IGFA-rated and has a heavy wax coating on it to ensure it lasts through the rigors of heavy drag and the ins and outs of the rod guides. It also features a hollow core, which allows for a knotless top shot; anytime a knot can be avoided, especially with a backing-to-top-shot connection, do it.
The final 200 yards on the reel is a top shot of 130-pound Amilan-T II IGFA pre-test game line. This line is available only through Melton Tackle and has superior abrasion resistance, limited stretch, and high knot strength—all important characteristics necessary for giant black marlin and the exorbitant amount of heat put on them. This line, in my opinion, is practically indestructible.
I also like to use what Aussies call a peg mark—also known as a hanger—made from 300-pound hollow-core braid that’s similar to the loop you make for a wind-on leader. The exception here is that you take your main line and run it through the core to a desired position, leaving said loop to hang on the outrigger pin. Doing so will keep the main line free of chafe by eliminating the pressure applied by pinning it in the clip, where it can be compromised by sawing back and forth in the sea state. Each rod is assigned a bait or lure for different positions in the spread: one at 20 arm lengths, one at 30, and one at 50. Once the loop is slid into position, I will serve it—or whip it—with 30-pound rigging floss to prevent it from sliding. By doing it this way, the main line never comes in contact with the clip, ensuring that every bit of your 80 pounds of drag is solid, with no weak spots.
I am also a big fan of long splices. Most make theirs only 12 feet, but I prefer to make mine 20 feet. This provides just a little bit more insurance for when you have a lot of line out and you’re down to the backing.
My favorite knot to tie for heavy tackle is an Australian braid. This knot is a better alternative to a traditional Bimini twist to create a small but strong loop at the end of the main line for my leader connection. After completing the braid, I whip it with wax floss, serving each end to ensure that it goes through the guides smoothly.
I typically make the braid about 9 feet long so all I have left to do is loop-to-loop my double line to the Dacron loop, which is then pulled through an Aussie ball-bearing swivel because I don’t use wind-on leaders. This way, there isn’t a cat’s paw or any sort of knot that connects to the swivel, and the double line is as strong as it can possibly be.
Once the two are connected, I whip over that connection with wax floss for added strength and a nonharming bushing of sorts for the swivel when it hits the rod tip.
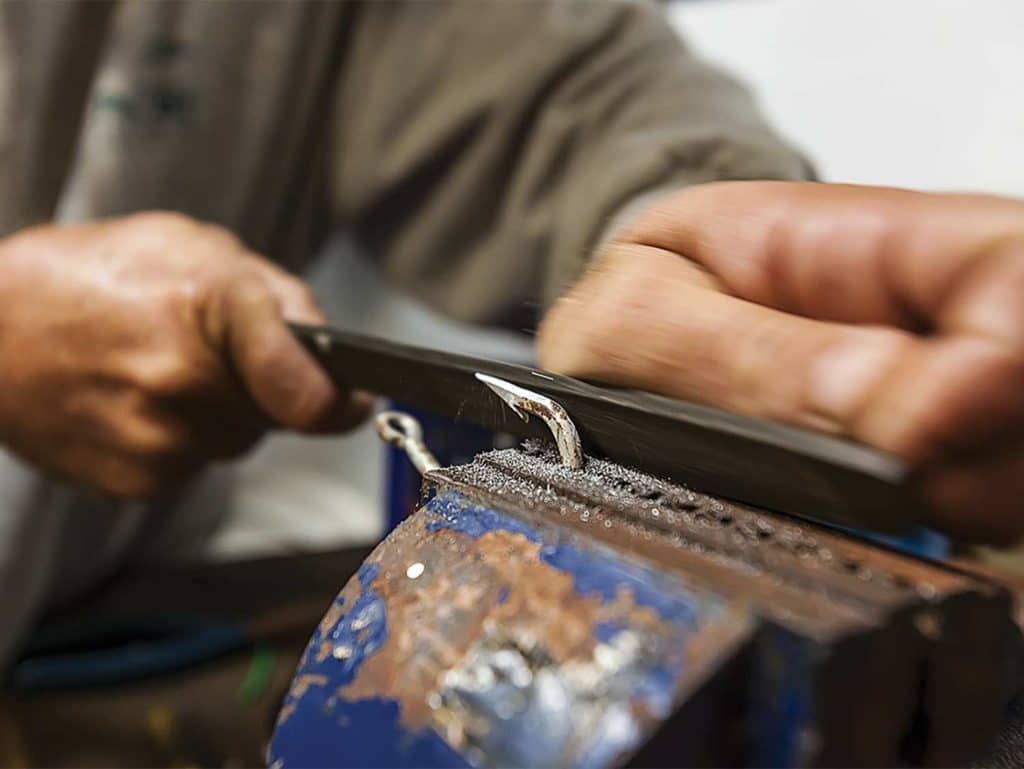
Mind Your Guides and Crimps; Sharpen Your Hooks
The proper crimping method is vital whenever you intend to apply serious pressure to big fish. Whenever I’m using single-sleeve aluminum crimps, I feel it’s of vital importance to melt the end of the mono and mushroom the tip of the tag end so that if the crimp job wasn’t 100 percent, there’s no way it could slip through. And it just gives added security to your gear. Chafe tubing is also critical for all small-loop connections, especially where you crimp it to make the hook loop.
Having sharp hooks not only helps to ensure more hookups, but it also ensures that the hook is sharp enough to bury—and stay put—in a burly fish. Unfortunately, it seems that filing hooks is a lost art these days, mostly because hook manufacturers sell hooks that are pre-sharpened, or that stainless-steel hooks cannot be sharpened with a simple bastard file. After I have taken the time to sharpen my hooks, I will paint the barb tips with a black permanent marker to prevent them from rusting.
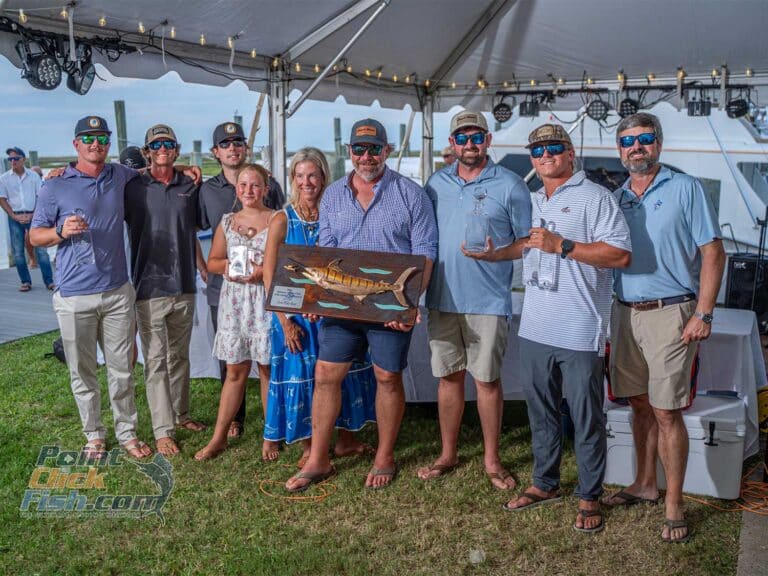
Read Next: Build a tournament-winning team with these tips.
Making sure all your rod’s roller guides are greased up and spinning freely is also something people tend to overlook and take for granted. Keep in mind that whenever a fish makes a big run under heavy drag, that line can get burned up in the roller guide if it’s seized up. If the rollers aren’t functioning properly, the line is quickly compromised, and you can say bye-bye to your client’s dream fish.
Another thing I’m really big on is making distance marks on the main line to get a better idea of how far away we are from the double line. This keeps the entire crew informed of the situation and ready for the next move. I will make a mark on the main line with a permanent marker at 150 feet from the double line with three dash marks approximately a half-inch long (each mark indicating 50 feet), two marks at 100 feet, and one at 50 feet. It’s nice to be able to accurately communicate with the captain when these marks hit the rod tip, or have an answer if he asks, “How far?”
Let it Out
After a long fight, or a big day with lots of bites, I like to drop my lines back off the rod tip as we run home. Let out the line at minimum to the Dacron-to-mono connection point and levelwind it all back on, making sure to feel the top shot with your fingers as it gets back on the reel—doing this will put your mind at ease knowing you’re good to go for the next day. This will also take any unwanted spin out of the line that tends to happen while trolling.
Knowing your gear is up to par and looks nice and neat not only makes your anglers feel confident in the operation they chose to chase their dream fish with, but it also will help you—and your captain —sleep better at night.
Overall, if you ever have any doubt in your mind that your gear is even the slightest bit off-par, you are much better off going ahead and making it right. You never know what sea monster could jump on the end of that line. The ocean is limitless in that any day could be that day. The point here is this: Don’t half-ass anything, ever. If you don’t have time to do it right, you sure as heck don’t have time to do it twice.